
Android RelativeLayout & TableLayout Example
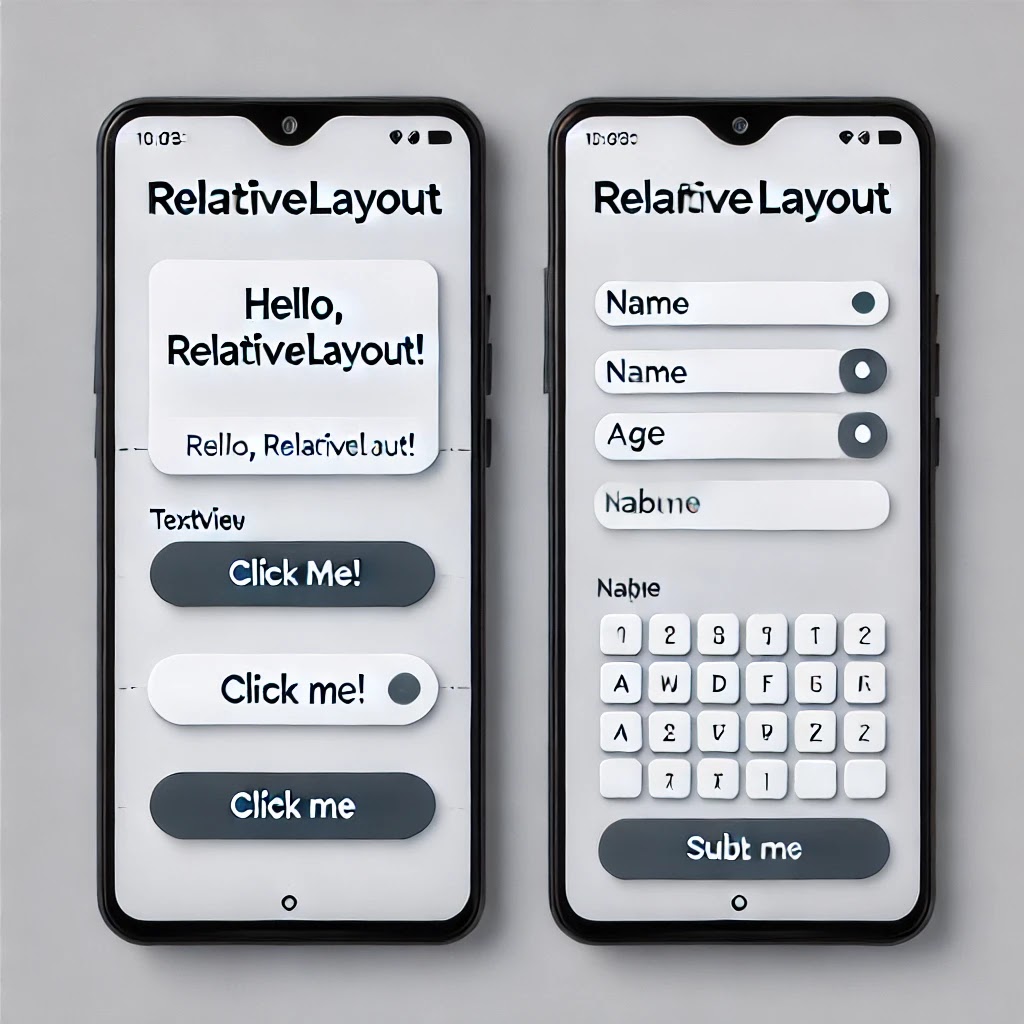
This Android application demonstrates the use of RelativeLayout and TableLayout. It includes navigation between two activities.
RelativeLayout XML
<?xml version="1.0" encoding="utf-8"?>
<RelativeLayout xmlns:android="http://schemas.android.com/apk/res/android"
    android:layout_width="match_parent"
    android:layout_height="match_parent"
    android:padding="16dp">

    <TextView
        android:id="@+id/textView"
        android:layout_width="wrap_content"
        android:layout_height="wrap_content"
        android:layout_marginTop="25dp"
        android:text="Hello, RelativeLayout!"
        android:textSize="18sp"
        android:textStyle="bold" />

    <Button
        android:id="@+id/button"
        android:layout_width="wrap_content"
        android:layout_height="wrap_content"
        android:layout_below="@id/textView"
        android:layout_marginTop="10dp"
        android:text="Click Me" />

</RelativeLayout>
TableLayout XML
<?xml version="1.0" encoding="utf-8"?>
<TableLayout xmlns:android="http://schemas.android.com/apk/res/android"
    android:layout_width="match_parent"
    android:layout_height="match_parent"
    android:padding="16dp"
    android:stretchColumns="1">

    <TableRow>
        <TextView
            android:padding="8dp"
            android:text="Name" />

        <EditText
            android:layout_width="match_parent"
            android:layout_height="wrap_content" />
    </TableRow>

    <TableRow>
        <TextView
            android:padding="8dp"
            android:text="Age" />

        <EditText
            android:layout_width="match_parent"
            android:layout_height="wrap_content" />
    </TableRow>

    <TableRow>
        <Button
            android:layout_span="2"
            android:text="Submit" />
    </TableRow>

</TableLayout>
Java Code: RelativeLayoutDemo.java
package com.vipul.p6;

import android.content.Intent;
import android.os.Bundle;
import android.view.View;
import android.widget.Button;
import androidx.appcompat.app.AppCompatActivity;

public class RelativeLayoutDemo extends AppCompatActivity {

    @Override
    protected void onCreate(Bundle savedInstanceState) {
        super.onCreate(savedInstanceState);
        setContentView(R.layout.activity_relative_layout_demo);

        Button button = findViewById(R.id.button);
        button.setOnClickListener(new View.OnClickListener() {
            @Override
            public void onClick(View v) {
                startActivity(new Intent(RelativeLayoutDemo.this, TableLayoutDemo.class));
            }
        });
    }
}
Java Code: TableLayoutDemo.java
package com.vipul.p6;

import android.os.Bundle;
import androidx.appcompat.app.AppCompatActivity;

public class TableLayoutDemo extends AppCompatActivity {

    @Override
    protected void onCreate(Bundle savedInstanceState) {
        super.onCreate(savedInstanceState);
        setContentView(R.layout.activity_table_layout_demo);
    }
}
Explanation
- RelativeLayout: Positions UI elements relative to each other.
- TableLayout: Organizes UI elements in a table format.
- Java Code: Handles button clicks to switch between activities.
- Intent: Used for navigation between activities.


0 Comments
If you have any doubts, Please let me know